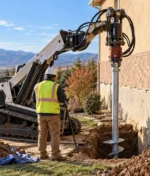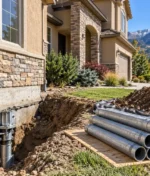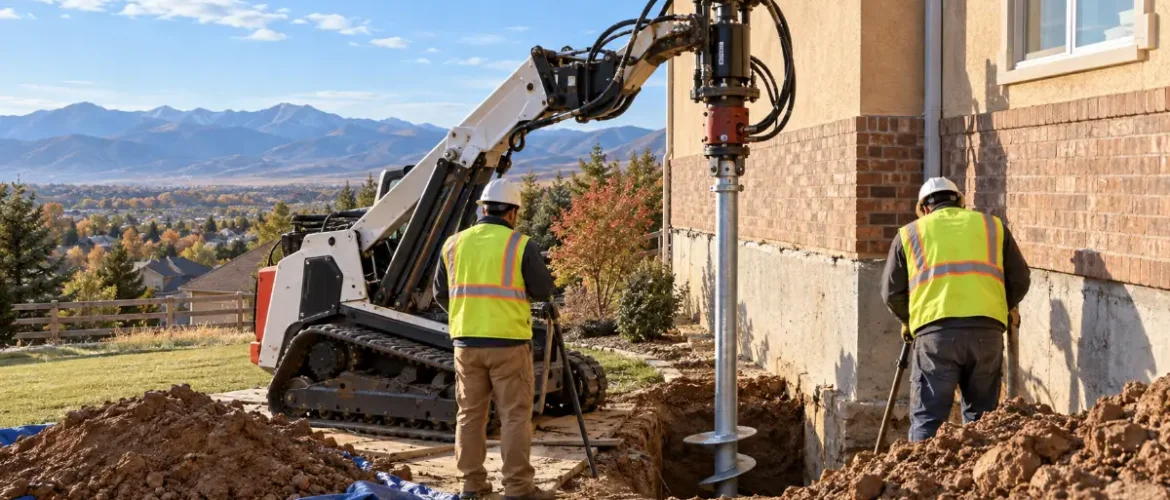
The helical pier installation process takes 1 to 4 days on most Colorado homes. A crew digs a small pit at each pier location and turns a steel helical shaft into the ground with a hydraulic torque motor. Extensions go on until the torque reading proves the pier can carry its load. Then a bracket ties each pier to the footing and the weight moves onto steel. Colorado adds a test the torque gauge can’t run by itself: the pier also has to end up below the clay that swells and shrinks with the seasons. Colorado Helical Pier installs PierTech’s 2-7/8 inch system statewide from Elizabeth, and the capacity numbers in this article come from that system’s ICC-ES evaluation report.
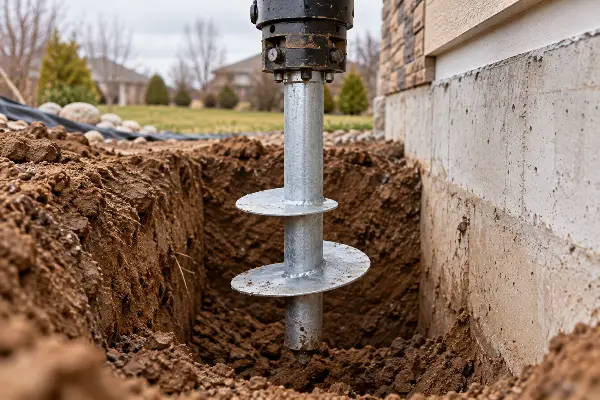
What Is The Helical Pier Installation Process?
The helical pier installation process is the sequence a crew follows to anchor a building to stable soil with steel screw piers. It runs in 7 steps: plan the layout, locate utilities, expose the footing, turn each pier down until torque confirms capacity, add a bracket, move the load onto the pier, then record the readings and backfill.
On our jobs, the steel is PierTech’s 2-7/8 inch round shaft. Lead sections carry helix plates 8 to 14 inches across, and repairs use the Tru-Lift bracket. Extensions join with the Cross Lock coupling. ICC-ES evaluation report ESR-3969 covers the shaft, both bracket types and the coupling, and its January 2026 reissue applies to the 2009, 2012, 2015, 2018 and 2021 editions of the IBC and IRC. That’s the document your building department and lender will ask to see.
Why Does Colorado Clay Change The Install?
A pier that stops inside swelling clay rides up and down with it. The Colorado Geological Survey’s page on expansive soil and rock puts it plainly: “Colorado’s most significant geologic hazard is expansive or swelling soil.” It also says no other natural hazard causes more property damage in the state. Wet clay can push on a foundation with at least 20,000 pounds of force per square foot. It can grow 10% or more in volume, and engineers treat a 3% change as potentially damaging.
Depth is where it gets tricky. A 2000 Colorado State University study at a Fort Collins test site measured the seasonal moisture swing in open ground at about 5 to 7 feet. Under a slab, water content rose as deep as 18 feet. The same study noted that Front Range practice often assumed an active zone of 15 to 20 feet or less.
That’s why we disagree with the standard advice to turn a pier until it hits torque and call it done. Torque proves a pier can carry its load. But it doesn’t prove the pier sits below the clay. Dry clay can feel hard to a torque motor and still swell when water reaches it years later. ESR-3969 hands that call to the soils report, which has to list any minimum pier depth for hazards like frost and expansive soil.
The 2026 Helical Pier Installation Process, Step By Step
Every repair job runs through these 7 steps in this order. New construction follows the same path until step 6.
Step 1: Assess The Structure And Read The Soils
The first visit decides whether piers will solve the problem at all. We inspect the foundation and go through any soils report or engineering letter you have on hand. Then we tell you plainly whether piers make sense. If bedrock is near the surface, push piers may fit better than helical piers. This visit opens every helical pier installation we quote in Colorado.
You get the plan in writing, with the number of piers, their spacing, target depth and design load. When a permit office or lender wants stamped drawings, those come with it. That’s 1 reason a site soils report is worth having. For a house under the residential code without one, ESR-3969 uses a safety factor of 2.5 instead of 2, which lowers the allowable load on every pier.
Step 2: Call Colorado 811 And Mark Each Pier
Nobody digs until buried lines are marked. State law requires a locate request to Colorado 811 at least 3 business days before excavating, and the service is free. Pier locations then go on the ground from the plan. ESR-3969 keeps piers at least 4 times the average helix diameter apart, center to center, so 10-inch plates mean at least 40 inches between piers.
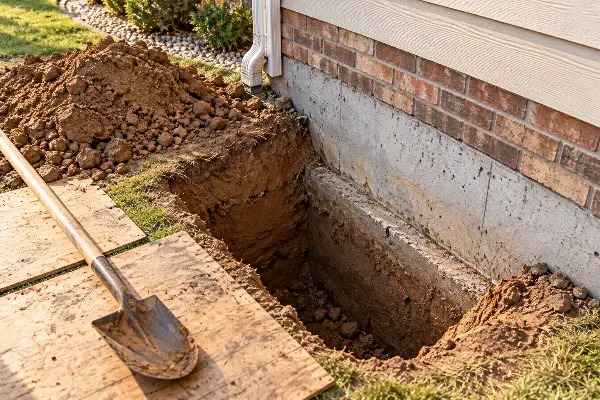
Step 3: Dig An Access Pit At Each Pier
Each pier gets 1 small pit instead of a trench along the whole wall. On a repair, the pit opens down to the footing so the bracket can be set under it. The rest of the yard stays mostly as it was.
Step 4: Screw In The Lead Section
The lead section is the bottom piece of the pier, the one with the helix plates. A hydraulic torque motor turns it into the ground in a smooth, continuous, clockwise rotation, and the plates pull it down about 3 inches per turn. The operator keeps enough downward pressure on it to keep it moving and checks plumb as it goes. ESR-3969 allows no more than 1 degree off vertical. None of this puts weight on your foundation, because the motor does the work.
Step 5: Add Extensions Until Torque And Depth Both Pass
Extension sections go on 1 at a time. Each joint uses the Cross Lock coupling, which lines up and locks the sections so torque doesn’t stretch the bolt holes. The torque reading climbs as the plates reach firmer soil.
The pier stops only when 2 things are true. The torque has reached the design value, and the helix plates sit below the minimum depth in the plan. In Colorado clay, that second test can call for more depth after the gauge already reads high. The motor also can’t go past the system’s 8,840 foot-pound torque limit. If a pier reaches that limit before the planned depth, the answer is a design change, not more force.
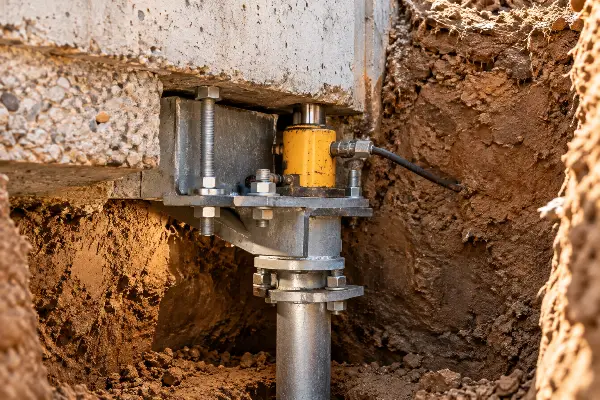
Step 6: Set The Bracket And Move The Load Onto The Pier
On a repair, the crew slides a Tru-Lift bracket beneath the footing and tightens it down with a slider block and threaded rods. As it’s tightened, it draws into the foundation and won’t rotate or shift. ESR-3969 rates this bracket for 27,900 pounds of push-down load per pier.
With brackets set on every pier, hydraulic jacks move the weight of the structure onto steel. If the plan calls for lift, it goes on in small, controlled increments. The safe amount of lift is different for every structure, and you’ll know the target before work starts. Where the structure allows it, cracks can close and sticking doors can swing again.
Step 7: Log Every Pier, Backfill And Clean Up
Every pier gets a record before the crew leaves: final torque, final depth, tip elevation, plumb and a bolt check. Those are the items ESR-3969 lists for special inspection on projects under the International Building Code. We record the readings on every pier and share them with you and your engineer. Then the crew fills the pits and puts the surface back. Most home installs wrap up in 1 to 4 days, and the structure rests on the piers the same day.
How Does Torque Prove A Pier Will Hold?
Every pier gets a torque reading, and ESR-3969 turns that reading into capacity with 1 formula. Ultimate capacity in pounds equals a factor called Kt times the final torque in foot-pounds.
For the 2-7/8 inch PierTech pile, Kt is 9 for push-down loads and 8 for pull-up loads. At the system’s 8,840 foot-pound limit, that’s 79,560 pounds of ultimate push-down capacity. The report divides by a safety factor of 2, so the allowable push-down load from the soil is about 39,800 pounds.
That soil number isn’t the whole rating. ESR-3969 rates each pier at the lowest of 4 values: the bracket, the shaft, the helix plates and the soil. So a repair pier on a Tru-Lift bracket can’t be rated above 27,900 pounds, however hard the motor works. Extra torque past the design value doesn’t raise the rating.
| Part of the pier | Allowable push-down load | Allowable pull-up load |
|---|---|---|
| Soil, at the 8,840 ft-lb torque limit | 39,800 lb | 35,400 lb |
| Tru-Lift repair bracket | 27,900 lb | Not rated |
| New-construction bracket | 43,530 lb | 33,940 lb |
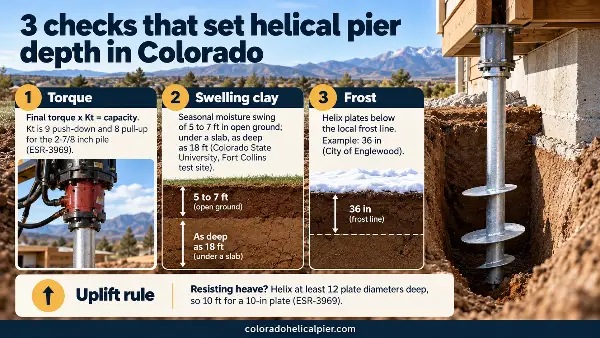
How Deep Do Helical Piers Go In Colorado?
Deep enough to pass 3 checks. The pier has to reach its torque target, sit below the minimum depth in the soils report, and keep its plates below the local frost line. In swelling clay, the second check can push a pier well past the depth where torque first passes.
Frost depth is set by each building department. Englewood, for example, lists a 36-inch frost line in its design criteria. ESR-3969 also requires the soils report to give frost depth and groundwater data, along with any minimum depth for expansive soil.
Pull-up loads add 1 more rule. If a pier has to resist uplift, ESR-3969 requires at least 12 helix diameters between the ground surface and the plate. That’s 10 feet for a 10-inch plate. The rule matters in Colorado, because swelling clay doesn’t only settle. It heaves, too.
The Pier Record To Ask For After Install
A good install leaves paper behind. Ask for 1 line per pier with these items, and keep it with your house records.
| Record item | Why it matters |
|---|---|
| Pier number and location | Ties each reading to a spot on the plan |
| Final installation torque | Converts to capacity with Kt: 9 push-down, 8 pull-up |
| Final depth and tip elevation | Shows the plates passed the plan’s minimum depth |
| Lead and extension sections used | Confirms the helix sizes match the design |
| Plumb | ESR-3969 allows 1 degree off vertical at most |
| Bracket type and bolt check | Tru-Lift for repairs, direct-load for new builds |
| Lift applied, if any | Gives you a baseline if anything moves later |
How Is A New-Construction Install Different?
The pier installs the same way. The top changes. Instead of a side bracket under an old footing, a direct-load bracket sits on the pier and gets cast into the new footing, pile cap or grade beam. ESR-3969 rates that bracket at 43,530 pounds push-down and 33,940 pounds pull-up.
Decks, porches, sunrooms and additions can sit on piers instead of poured footings. Nothing has to cure, and a frozen yard doesn’t delay the start. Carpenters can frame as soon as the last pier is in.
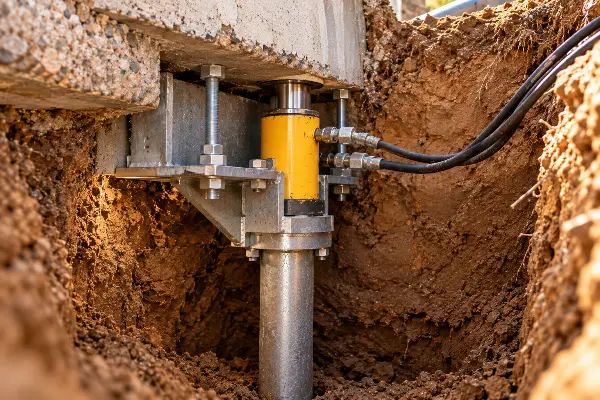
When Are Push Piers The Better Choice?
When bedrock or firm bearing soil is shallow, or when the building weighs enough to push piers down to bearing soil. Push piers have no helix plates. Hydraulic cylinders press them down, with the building’s own weight holding the cylinders in place, and they take the same Tru-Lift bracket. Push pier shafts come in 2 sizes, 2-7/8 and 3-1/2 inches, in bare or galvanized steel, and we install both pier types.
Helical piers are our pick for most houses and decks. They put no weight on the foundation during install, and every pier’s capacity is checked by torque. If you’re still working out what’s wrong with the house, our foundation repair page covers the warning signs and the repair options.
Get A Pier Plan For Your Colorado Property
Every helical pier installation process we run starts with the same site visit and a written plan matched to your soil. Call 303-578-4414 to set one up anywhere in Colorado. We book home repairs by region and take commercial and new-construction projects anywhere in the state.
FAQs
How long does the helical pier installation process take?
Most residential installs take 1 to 4 days, and the structure rests on the piers the same day. The pier count and the depth to bearing soil set most of that schedule. Plan for the Colorado 811 locate too, which needs at least 3 business days before any digging starts.
Can I install helical piers myself?
Not for a house foundation. Each pier has to be turned with a hydraulic torque motor and stopped at a design torque, and the 2-7/8 inch system tops out at 8,840 foot-pounds under ESR-3969. On projects under the International Building Code, the report also calls for continuous special inspection of torque, depth, plumb and bolts.
Can helical piers go in during a Colorado winter?
Yes. Piers are turned into the ground, not poured, so there’s no concrete to protect from the cold. The soils report and the plan keep the helix plates below the local frost line, which Englewood, for example, sets at 36 inches.
Will the helical pier installation process lift my house back to level?
Often, yes. Once the piers reach capacity, lift can be applied in small, controlled increments to close cracks and level floors. Each structure has its own safe limit, and that limit is set before the crew starts.
What are the disadvantages of helical piers?
They don’t fit every site. ESR-3969 excludes soils with sulfate above 1,000 ppm, pH below 5.5 or resistivity under 1,000 ohm-cm, plus organic soils, landfill and mine waste, and it covers seismic design categories A through C. Where bedrock is shallow, push piers usually fit better.
How long do helical piers last?
ESR-3969 already deducts steel loss over a 50-year service life from its rated capacities. That 50-year figure is a design basis, not an end date. Shafts are available hot-dip galvanized to ASTM A123 or as bare steel, and unusual soils can get a site corrosion analysis.